A printed seating chart taped to the door works until someone cancels the night before or a guest brings an unexpected plus-one. An event seating floor plan on Invitofy solves this because it is digital, connected to your RSVP data, and updates in real time. You can build your venue layout, place every table, assign every guest, and hand a phone to your front-of-house team on the day, no printed chart needed. The feature is completely free.
What the Floor Plan Builder Does
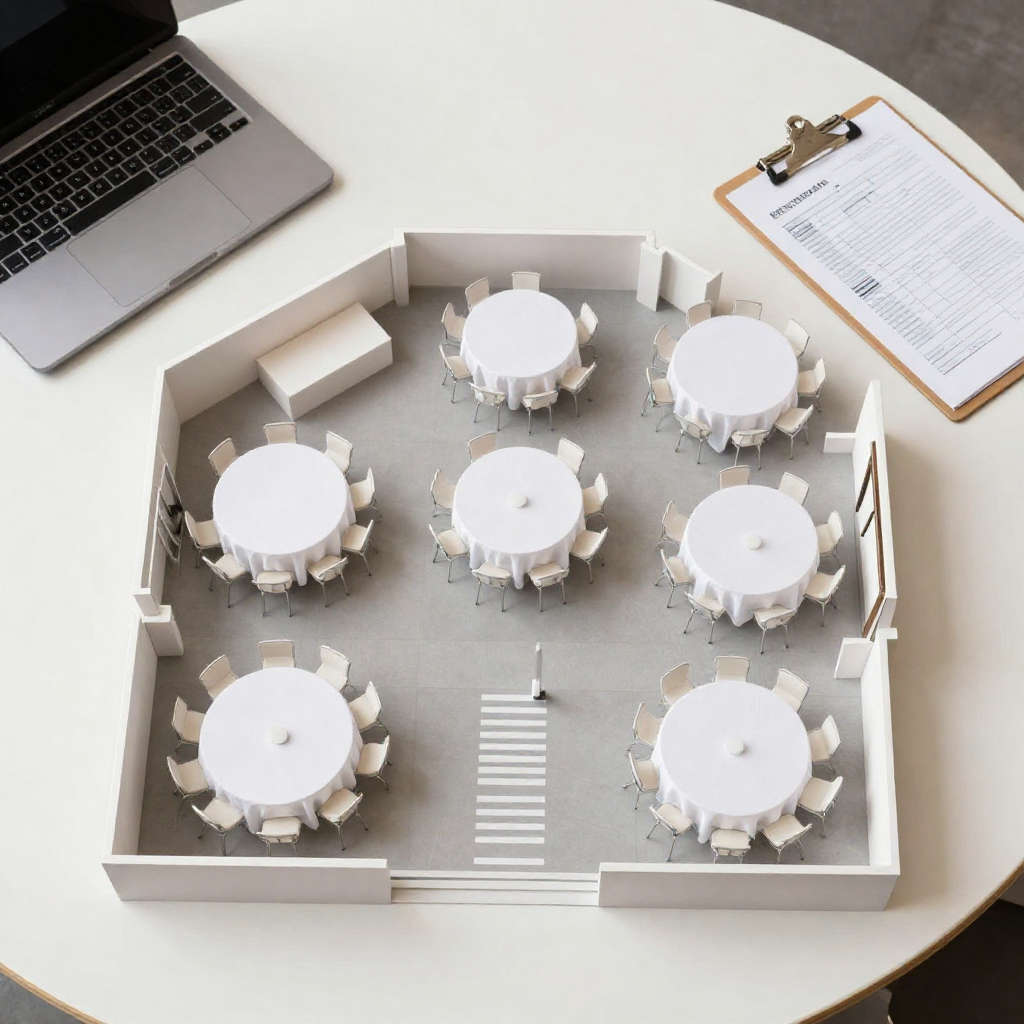
Invitofy's floor plan builder gives you a visual canvas that represents your venue space. You add tables to the canvas, drag them into position to match your actual room layout, and label each one. Each table has a seat count you set, and the builder tracks how many seats are filled and how many remain available as you assign guests.
The floor plan connects directly to your seating assignments. When you assign a guest to a seat in the seating section, that assignment reflects on the floor plan immediately. When a guest's RSVP changes, the floor plan updates. You always see your current, accurate seating state, not a static document that became outdated the moment a guest called to cancel.
According to the Wikipedia definition, a floor plan is a scale drawing that shows the layout of a space from above. Invitofy's floor plan builder applies this concept directly to event seating, giving you a spatial view of your venue that is far easier to communicate to a venue team than a text-based table list.
How to Build Your Event Seating Floor Plan
Open your event on Invitofy and navigate to the floor plan section. A blank canvas appears, representing your venue space. Start by adding tables. Choose the shape, round or rectangular, that matches the furniture at your venue, and specify how many seats each table holds.
Drag each table into the position it occupies in the actual room. If your venue has a head table running across the top of the room, a dance floor in the centre, and round guest tables arranged around it, arrange your canvas to reflect that layout. The more closely your floor plan matches reality, the more useful it is as a reference tool on the day.
Label each table with a name or number. Consistent labelling, either all numbers or all names, not a mix, makes it easier for guests to find their table and for staff to manage service. If you use names, choose a theme that matches your event: for a wedding, table names based on travel destinations or shared memories work well; for a corporate dinner, numbered tables are cleaner and less personal.

Assigning Guests to Seats on the Floor Plan
Once your tables are placed and labelled, assign guests to specific seats. Your accepted RSVPs appear in the assignment panel. Select a guest and choose their table and seat position. The floor plan immediately shows the guest's name at that position and reduces the available seat count for that table by one.
Work through your guest list systematically. Assign family groups and VIP guests first, these placements often have the most constraints and are hardest to adjust later. Then assign social groups that should sit together. Fill remaining gaps with individual guests who have no specific proximity requirement.
As you assign, keep an eye on table capacity. The floor plan flags tables that are at capacity in a different visual state, so you can see at a glance which tables are full and which still have space. This prevents the common mistake of over-assigning one table while another has empty seats.
Handling Dietary and Accessibility Requirements
The floor plan is the right place to account for accessibility needs. Guests who require wheelchair access, proximity to an exit, or a seat away from a specific area can be assigned first, before other tables are filled. Marking these requirements in your guest notes during the invitation stage means you have the information available when you reach this step.
For guests with dietary requirements, seating them together or near the kitchen end of the room simplifies service significantly. Coordinating with your venue on which tables will receive which meal options is much easier when you can show them a visual floor plan with guest names rather than reading from a list.
Sharing the Floor Plan With Your Team
Your venue team and co-hosts need to see the final floor plan. Invitofy lets you share the floor plan view directly, your front-of-house team can access it from a phone or tablet on the day without needing an Invitofy login. This is faster and more reliable than printing a chart the night before only to update it twice in the morning when two guests change their status.
A digital floor plan shared with your team also means last-minute changes can be communicated instantly. If a guest no-shows on the day, you update the assignment in Invitofy and the change is visible to anyone viewing the shared floor plan link in real time. No reprinting, no crossed-out names on a laminated sheet.
Floor Plan and Seating Assignment Together
The floor plan builder and the seating assignment tool work as one system on Invitofy. Changes in the seating section appear on the floor plan immediately, and vice versa. You do not need to maintain two separate views or sync data between them.
If you have not yet set up your seating assignments, start there first. The guide to event seating assignment on Invitofy covers how to allocate guests to tables and seats from the guest list view before moving to the floor plan. Once assignments are in place, the floor plan gives you the spatial context to verify that the layout makes sense for your venue and your guests.
Both tools sit inside the same event dashboard where you built your invitation and tracked your RSVPs. You never need to switch between apps or export data between tools. For more on how Invitofy manages the full event journey from invitation to guest management, see the guide to tracking RSVPs online.
Why a Digital Floor Plan Beats Paper Every Time
Paper floor plans and spreadsheet-based seating charts have one fatal flaw: they are static. The moment a guest changes their RSVP, the plan is out of date. At large events with 100 or more guests, changes arrive right up until the morning of the event. A digital event seating floor plan that is connected to your live RSVP data is always current.
The global events industry processes millions of seated events every year. Venue managers, wedding planners, and corporate event coordinators who switch from paper-based seating to digital tools consistently report fewer errors on the day and faster setup. The floor plan builder on Invitofy brings this capability to individual hosts planning their own events, with no software to install and no cost.
Build your floor plan today. Create your free Invitofy account, set up your event, send your invitations, and manage your entire seating plan, from assignment to floor plan, in one place.